Requirements to use nail art stickers
If you meet most of the requirements above, then nail art stickers are for you!
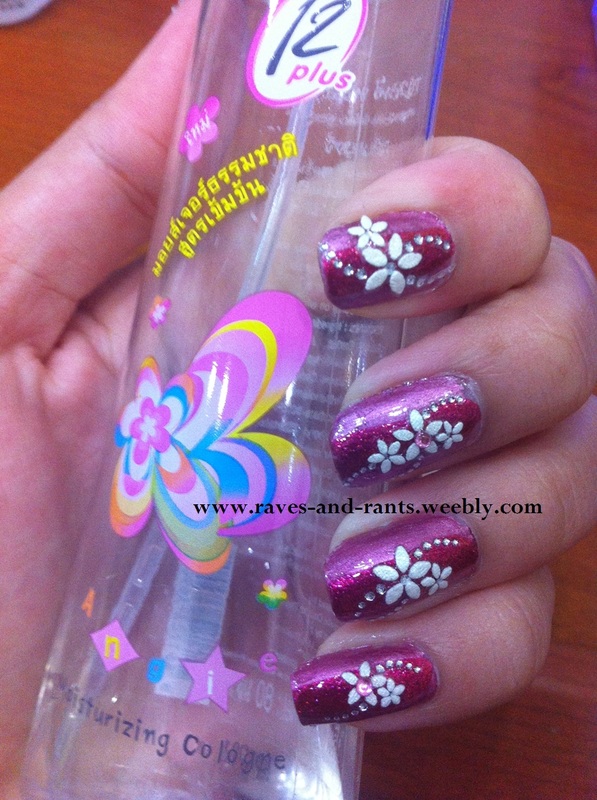
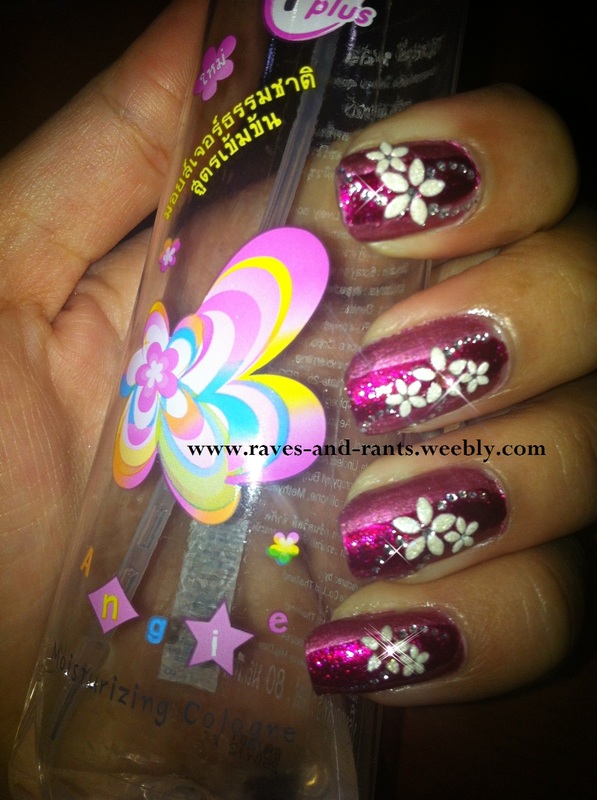
I dug out some of my old nail art stickers which I bought from pasar malam (very cheap! but can't recall the price) and DIY the nail art myself. Well, ok fine most of the credits go to the nail art stickers but... still, I'm here to share on tips using these stickers, which I learnt along the process!
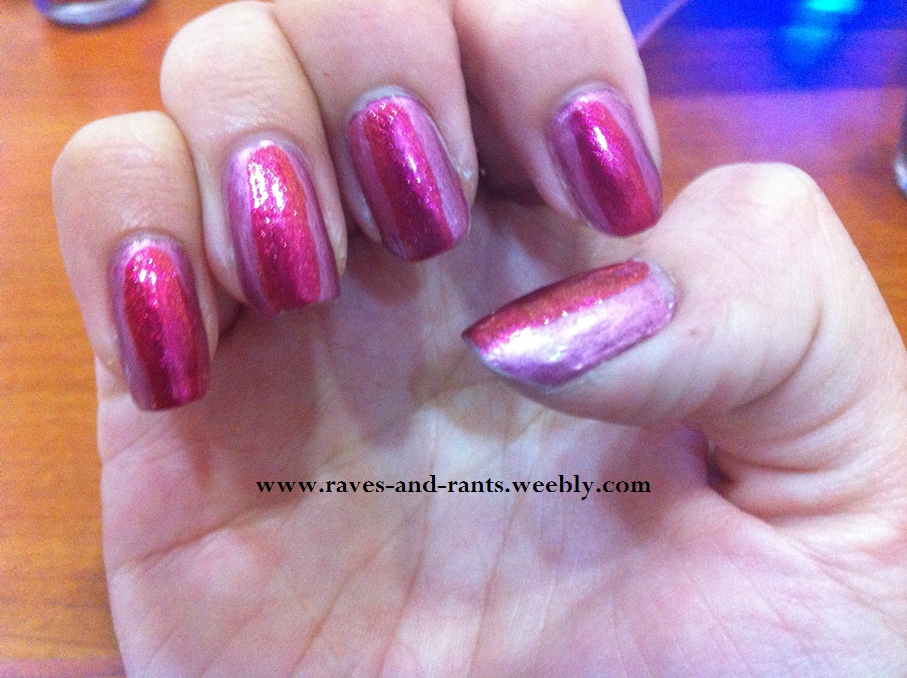
Pictures are all taken with and without flash to showcase the glittering effect of the nail polish and the diamond on the stickers!
- Lazy/can't draw nail art yourself
- Impatient/want to save time
- Shaky hands
- Suck at art and crafts (I don't belong here!)
- Patient and gentle enough to stick them on one by one
- Meticulous
- Great skills of estimation and alignment
- Want awesome results within the shortest time possible
- Can't afford/don't wish to spend hefty sum for manicure and pedicure
If you meet most of the requirements above, then nail art stickers are for you!
I dug out some of my old nail art stickers which I bought from pasar malam (very cheap! but can't recall the price) and DIY the nail art myself. Well, ok fine most of the credits go to the nail art stickers but... still, I'm here to share on tips using these stickers, which I learnt along the process!
Pictures are all taken with and without flash to showcase the glittering effect of the nail polish and the diamond on the stickers!
| With Flash 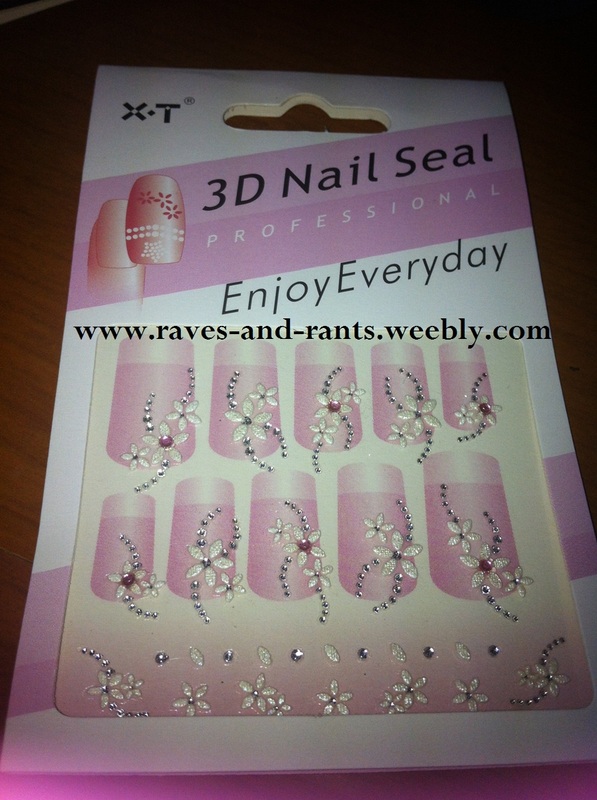
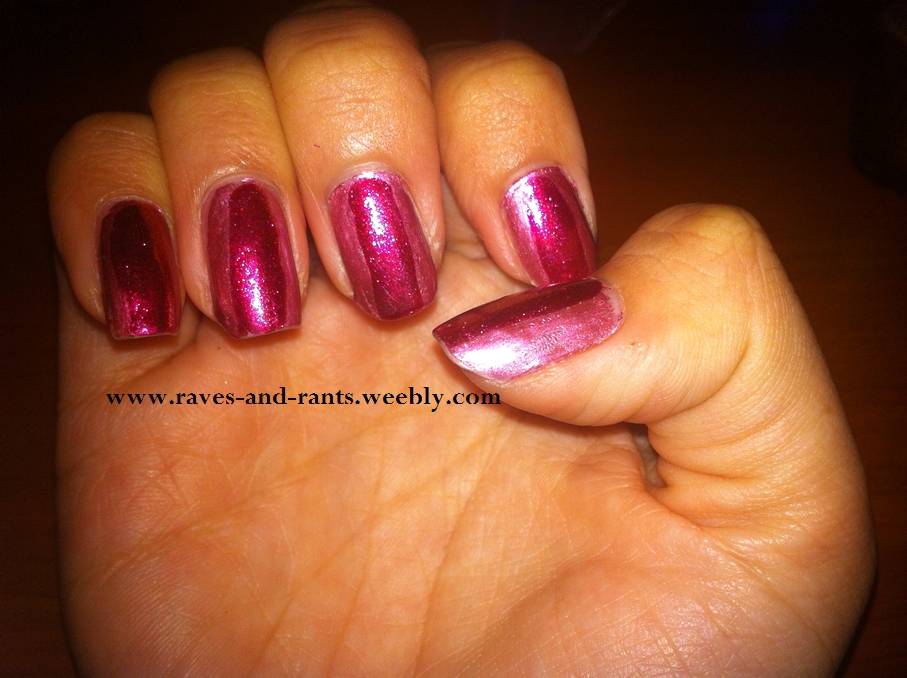
| Without Flash 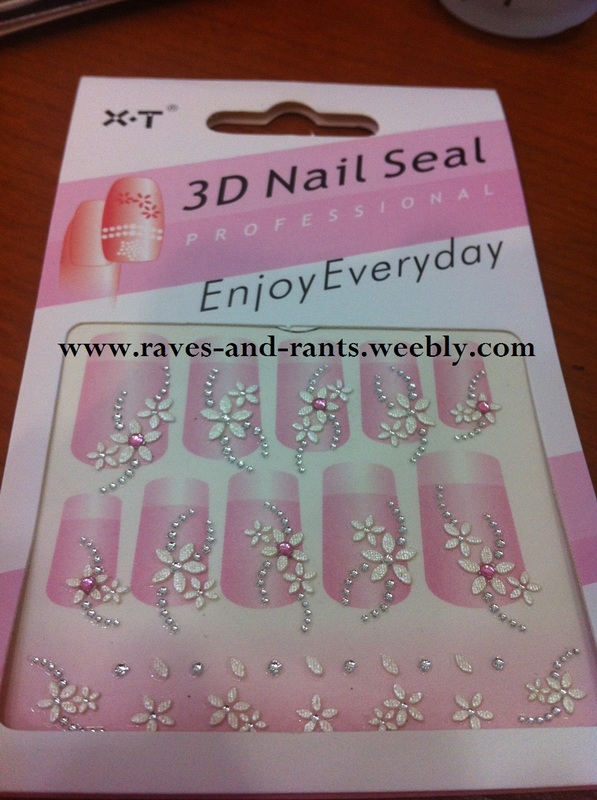
|
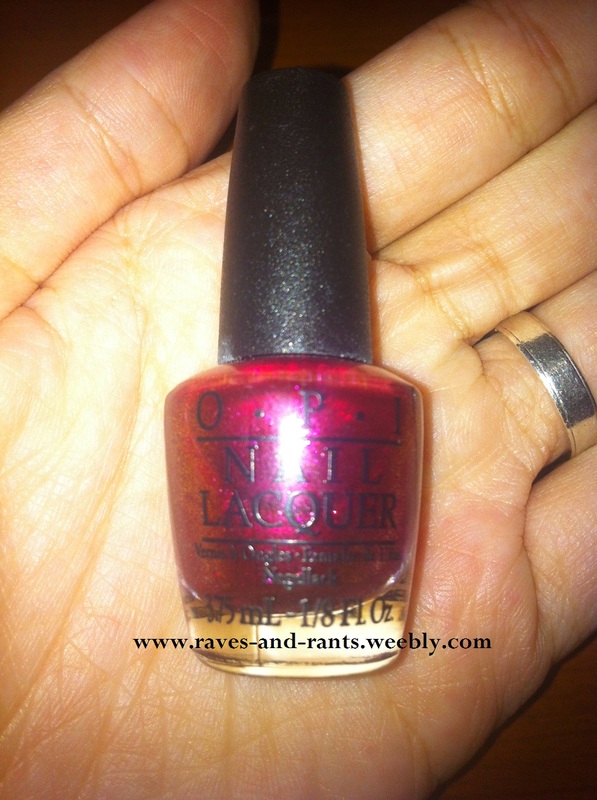
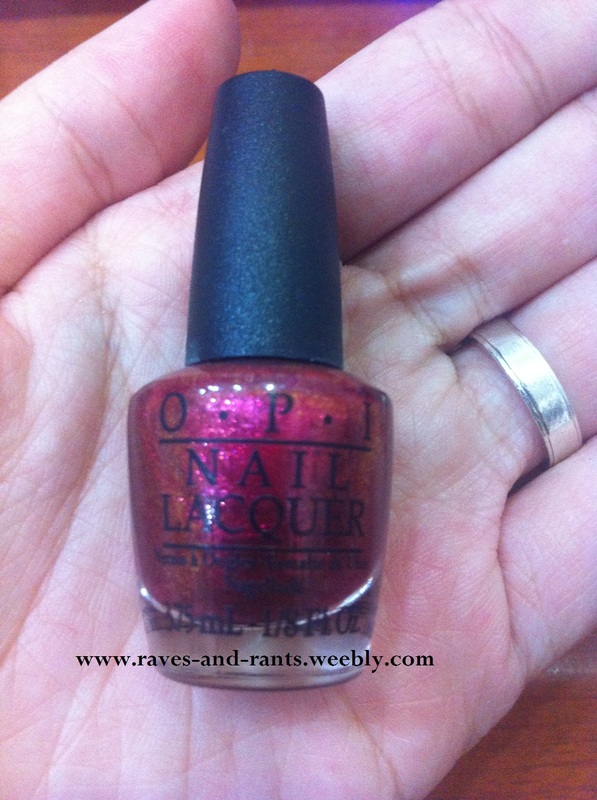
If you would recall, in my past entry post, I had used China Glaze Emotion to paint the lighter purple. The glitter hot pinkish purple is from OPI Burlesque Mini Set - The Show Must Go On! and I had merely painted a strip in the centre.
Now here are the steps and challenges when using nail art stickers. It may not seem as easy as it looks.
Ladies, don't expect these nail art stickers to stay on for a long period of time. They are merely temporary and their 'lifespan' is much shorter than those nail arts the manicurists design for you, but of course, the completion time is much faster. I took only around 45 mins or less to complete my finger nails.
*It would be easier if you use a tweezer to remove the stickers from the plastic and paste them onto your nails, while positioning them. But be sure not to press the tweezer too hard that it tears the sticker apart.
Have fun decorating your nails with nail art stickers! :)
xoxo
Jean
Now here are the steps and challenges when using nail art stickers. It may not seem as easy as it looks.
- As the stickers are quite fragile, you need to whole lot of gentleness to remove them from the plastic. What I do is to sort of bend and fold the plastic a little and try to get the sticker out from its edge. It was easier to start from the diamond part compared to the flowers. Be sure not to bend and fold the plastic too much that it affects the rest of the other stickers which are still intact. Just a slight short bend would do.
- Remember how the stickers were position and aligned before you remove them because I do get confused sometimes, in trying to position the stickers on the nails. If you've done manicures, you would have noticed that the nail arts are done in an 'opposite' style for both hands. A mirror image to be exact. The stickers on the plastic are positioned in that manner for a reason, so try to make use of that for your estimation :)
- I don't encourage you to use super glue on your nails because I reckon that it might harm your nails, hence, I would suggest you to use something which allows the stickers to stick which doesn't harm your nails. I used the top coat - logical right? It's sticky and helps to produce that extra shine and protection for your nails. Because I'm using the China Glaze Top Coat, which I'm quite sure it has some quick dry properties too, it was a challenge to hurry stick the stickers down onto the nails before it dries up. If yours is the normal kind that doesn't dry quickly, ensure that the coat is not too wet to stick the stickers on, or it would be a disaster and things would get real messy.
- As mentioned above, due to their delicateness, I suggest you to use either the tip of your fingers or hold it together with your fingernail tips at the ends. Remember that these stickers do not have super glue effect so be sure not to let it lose its stickiness. Refrain from using your flesh if possible as perspiration etc would cause them to lose their stickiness.
- After you have found the right position on the nail, gentle press it down first and then pay attention to minor areas such as the flower petals, the ends, the diamonds. Most importantly, every single part that can stick, needs to be down sticking to your nails.
- I had some little parts which refused to stick no matter what I do. So I used the top coat again and dripped a small amount at the required areas and then press it down using my finger nails and/or a pen. As our nails are curved, it might be a tad difficult to get them pressed down onto our nails nicely, so patience is required. Just keep pressing them down while drying them. They would eventually somehow stick and stay.
- Apply top coat over the whole nails with the nail art stickers once you are done to give the last touch up and shine.
Ladies, don't expect these nail art stickers to stay on for a long period of time. They are merely temporary and their 'lifespan' is much shorter than those nail arts the manicurists design for you, but of course, the completion time is much faster. I took only around 45 mins or less to complete my finger nails.
*It would be easier if you use a tweezer to remove the stickers from the plastic and paste them onto your nails, while positioning them. But be sure not to press the tweezer too hard that it tears the sticker apart.
Have fun decorating your nails with nail art stickers! :)
xoxo
Jean